Modelio allows users to modify existing workbenches, and to create their own new workbenches.
Managing workbenches
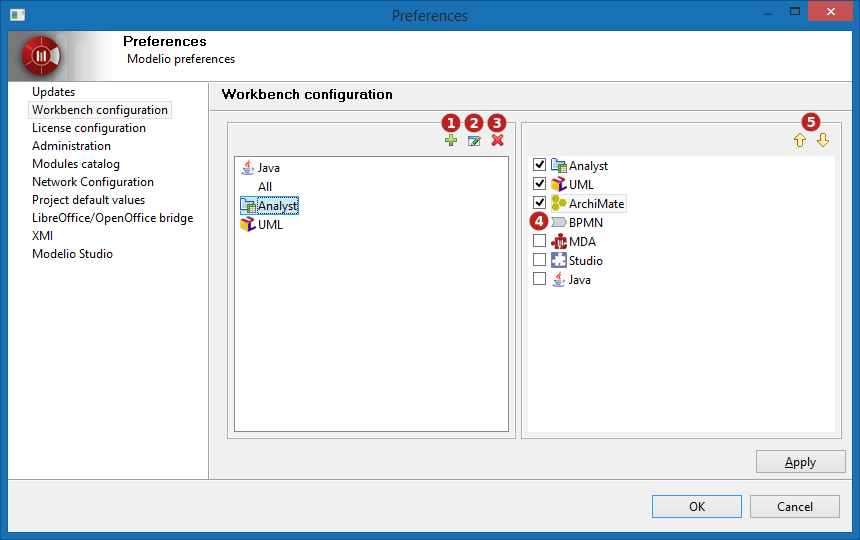
To add, modify, or remove a workbench, open the 'Configuration > Preferences…' menu and select 'Workbench configuration'.
Keys:
-
New workbench creation button
-
Workbench name and icon edition button
-
Workbench removal button
-
Workbench expertises activation (check boxes)
-
Workbench expertises sorting buttons
Workbench creation
Steps:
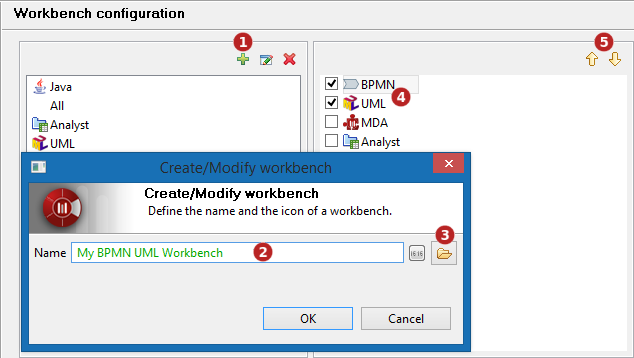
-
Click on the the
 icon
icon -
Enter the workbench name (alpha-numeric characters only)
-
Optional yet recommended: choose an icon (size 16x16)
-
Select supported expertises among the available ones
-
Sort expertises to define their priority in the workbench if necessary
Workbench modification

Steps:
-
Select a workbench
-
Click on the
 icon to modify the workbench name or icon
 -
Edit the workbench name (alpha-numeric characters only)
-
Change the icon (size 16x16).
-
Select the supported expertises by checking the corresponding boxes in the right-hand panel
-
Sort the expertises
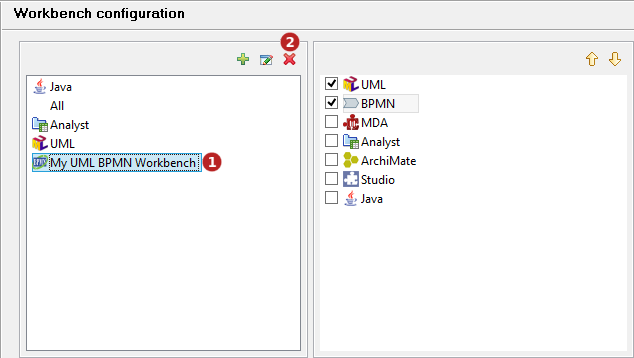
Removing a workbench
Steps:
-
Select a workbench in the left-hand panel
-
Click on the
 icon
icon
Note: removing a workbench does not remove the expertises which remain available to configure other workbenches.