Get a Cxx model
First of all, create a data model with the help of the CxxDesigner module. For more information about the creation of data models refer to the CxxDesigner user guide.
The following picture displays a simple example of data model created with CxxDesigner:
Configuring test model generation
You can use the setting windows to configure the behavior of the generation. The following options are available at this window:
-
Auto register unit test : if enabled each test class will be registered in the default test suite factory so that all tests can easily be runned from a single main class:
1
2
3
4
5
6
7
8
9
10
11
#include "cppunit/extensions/TestFactoryRegistry.h"
#include "cppunit/ui/text/TestRunner.h"
int main( int argc, char **argv)
{
CppUnit::TextUi::TestRunner runner;
CppUnit::TestFactoryRegistry ®istry = CppUnit::TestFactoryRegistry::getRegistry();
runner.addTest( registry.makeTest() );
bool wasSuccessful = runner.run( "", false );
return !wasSuccessful;
}
See http://cppunit.sourceforge.net/doc/cvs/cppunit_cookbook.html#test_factory_registry for more details.
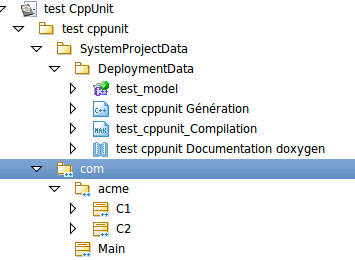
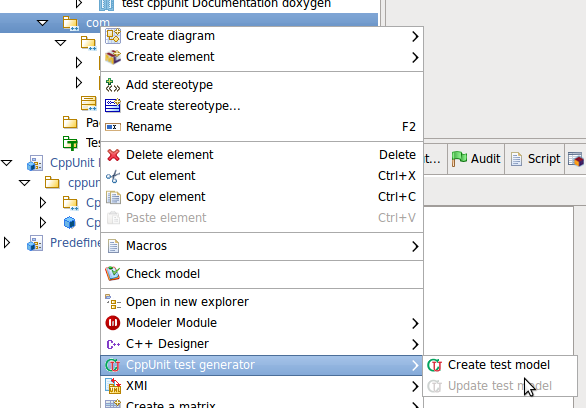
Generating the test model
Once you have got the elements in your C model, you can generate the test from it. In order to do that, select the topmost C package and then call "Create test model" under the "CppUnit module" menu.
The CppUnit Module will generate your test model. The "Generation report" window (see the picture below) will display the result of this generation. This window may contain two kinds of entries: Informations about the generation, Warnings for problems indicating that do not inhibit the generation of valid test model, and Errors, for most serious problems that block the generation.

Notice that, in case of generation warnings, code generated from the test model may be different from the expected one and may fail at compilation.
Adding the test model to the Cxx project
If no errors are detected, you may add the generated test model to the Cxx project. In order to do this:
-
Go to the SystemProjectData/DeploymentData package:
   image:images/./images/Quickstart_add_test_model_1.png[image]
2. Right click on the project choose _"CxxDesigner/Edit target"_:
image:images/./images/Quickstart_add_test_model_2.png[image]
-
In the project edition dialog, go to "Project content" tab
-
Drag and drop the created test folder into the area:
   image:images/./images/Quickstart_add_test_model_3.png[image]
5. Validate the dialog with _"OK"_ button.
For more information on the use of this dialog, refer to the CxxDesigner user guide.
Configuring compilation
-
go to the SystemProjectData/DeploymentData package,
-
go to the compilation artifact
-
go to the "Notes and constraints" tab
-
add a MKO note containing something like:
  1
2

   SYSINCLUDES:= -I$(cppunit_path)/include/
 SYSLDLIBS:= $(cppunit_path)/src/cppunit/.libs/libcppunit.a -ldl
SYSINCLUDES must include the cppunit include directory, SYSLDLIBS must include the cppunit library file and its dependencies.
Generating code, makefile and compilation
-
go to the "SystemProjectData/DeploymentData" package,
-
right click on the project and choose "CxxDesigner/Generate code" command
-
go to the compilation artifact
-
right click on the compilation
-
run the command "CxxDesigner/Generate makefile" then "CxxDesigner/Compile"
-
Deal with compilation errors
These commands are also available in the "Cxx" tab toolbar.