 |
The UML name field is used to modify the UML name of the Component, i.e. the name that appears in the model browser. |
 |
The Alias tick-box is used to indicate that the module will use an alias for the generated file. This can be useful if the UML name of the Class is not compatible with the java naming rules. When checked, a new field used to enter the alias name appears on the right. |
 |
The Open modifier tick-box is used to indicate that all the module packages can be accessed via reflection. |
 |
The Generation path field is used to set a specific generation path for every java element belonging to the Component. Can be absolute, or relative to the project space path. |
 |
The Copyright path field is used to indicate a copyright file to add at the top of the file of every java element belonging to the Component. |
 |
The Javadoc field is used to enter documentation for the Component. |
 |
The Requirement modules tab is used to indicate the module needs another to work:
-
Click on <add a module> cell to add a new required module.
-
Click on the Transitive column next to a package to specify this dependency is to be read automatically by any other module using your module.
-
Click on the Static column next to a package to indicate this dependency is optional: the module is needed during compilation, but not at runtime.
-
Select a line and click on the Remove button to remove a required module.
|
 |
The Exported packages tab is used to indicate which packages from this module are available for other modules to use.
-
Click on <add a module> cell to export a new package.
-
Click on the Friend modules column next to a package to restrict this export to a specific module.
-
Select a line and click on the Remove button to remove an exported package.
|
 |
The Opened packages tab is used to indicate that specific packages can be accessed via reflection.
-
Click on <add a package> cell to indicate a package is opened.
-
Click on the Friend modules column next to a package to restrict reflection access to a specific module.
-
Select a line and click on the Remove button to remove close a package.
|
 |
The Provided services tab is used to indicate the services provided for other modules to use.
-
Click on <add a service> cell to indicate a service interface.
-
Click on the Implementation column next to a service interface to select its implementation.
-
Select a line and click on the Remove button to remove a provided service.
|
 |
The Used services tab is used to indicate services used by the module.
|
 |
The Annotations field is used to add metadata for the module. |
 UML Component
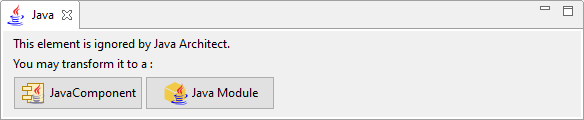
 Java Component
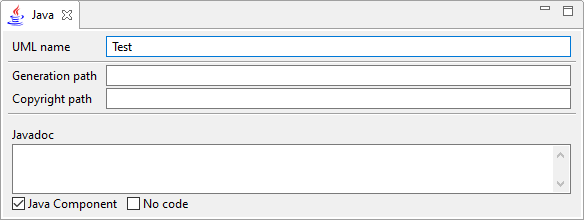
 Java Module